
I then cable tied the surplus wires to the brake pipes at the side of the car to keep it all neat and tidy.
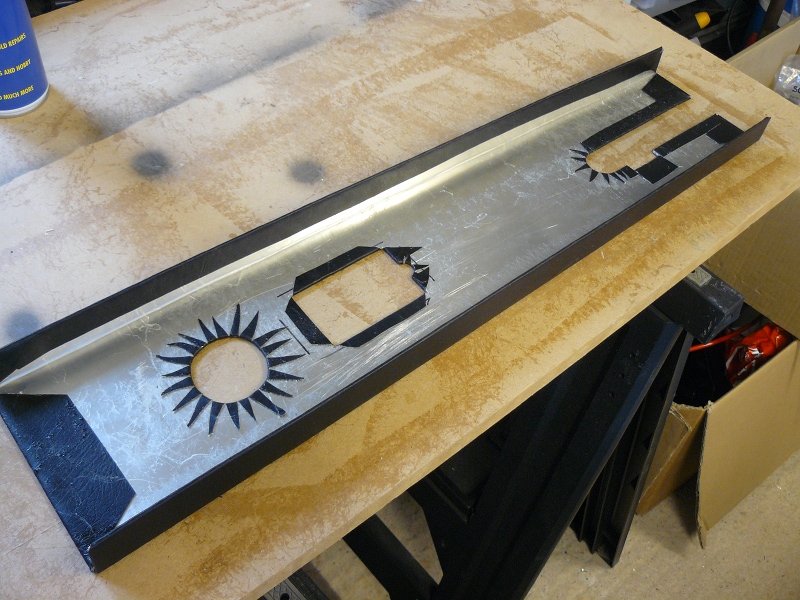
Next job was to move on to the top of the tunnel. As mentioned in the last post, I am going to include an iPod so I can have music as I drive (Yes I know I said this would be much later ... like after IVA later, but I couldn't wait). The first thing to do was to decide where to fit the iPod. I bought an iPod holder with the intention of fitting it to the top of the tunnel (I had considered other places but none would be in easy reach). When I looked at it, it just didn't look right. OK, so it would mean the iPod could easily be removed, but it just looked .... well, sort of "icky" ... so I decided it had to be built in to the tunnel top, the same as I had built in the Sat Nav to the centre consul.
Anyway, after getting the right measurements, a hole was cut. Next job was to cover the panel. I am starting to get used to doing this now and I think I have done a reasonable job.

Here it is from underneath. I just need to fabricate the bracket to hold the iPod in place and then bond that to the panel.
What I did next was to run the power cable for the iPod from behind the centre consul where the 12v supply is, to about half way down the tunnel, securing it with cable ties. I did the same with a headphone extension lead, but running this to the back of the tunnel, leaving enough hanging loose behind the driver's seat. I can then plug my earphones into this socket, keeping everything neat and tidy.
Final job of the day was to fit the nearside tunnel panel. First I made sure I had done every thing I had to where good access was required. I checked the sensor magnets and the Araldite and it was a good job I did. The magnet sitting on top of the diff flange was OK, but the one underneath had dripped, causing a sort of stalactite. I trimmed this off with a Stanley knife so it was flush with the top of the magnet. The only other thing I could need access for would be the bolts on the drive shaft, front and rear. These have all been torqued up correctly and also had thread lock applied for extra security.
Once I was happy with all this, the next job was to prepare the panel for fitting. The panel was already drilled ready, as was the chassis, so I simply roughed up the fixing points and applied some Sikalex (nasty stuff - remember to wear gloves!). Final job was to then simply rivet it all in to place. Disaster!! The rivet gun appears to have given up the ghost! It will fix the rivet but not then release the pin, meaning you can't get the next rivet in. A quick trip to Tool Station and £8.75 later, I have a new rivet gun. Bugger .... that doesn't work either ... same issue. It must be the rivets. After playing about, I finally found I could do one rivet, pull the pin back in to the gun a bit and push the next rivet in, which had the effect of pushing the old pin out. Much more time consuming, but it got the job done.
I finally had to put 2 rivets in to hold the speedo sensor bracket. I had applied lots of Sikaflex so it could just be glued but I thought I would try and rivet it as well. I had already put 2 holes in the bracket, I just had to put 2 holes on the panel to match them. I measured the depth and lined up the drill by eye. Bulls eye!! First one was spot on. I riveted that. Second one wasn't as easy, but I still managed to line the holes up and a second rivet was fitted. That bracket isn't going anywhere!!

Now this is all done, I can move on to fitting the carpets which will really make the car look like it is moving forward. Only real problem is that I really need to get the paint work done so I can start putting the rest of the car together.
No comments:
Post a Comment