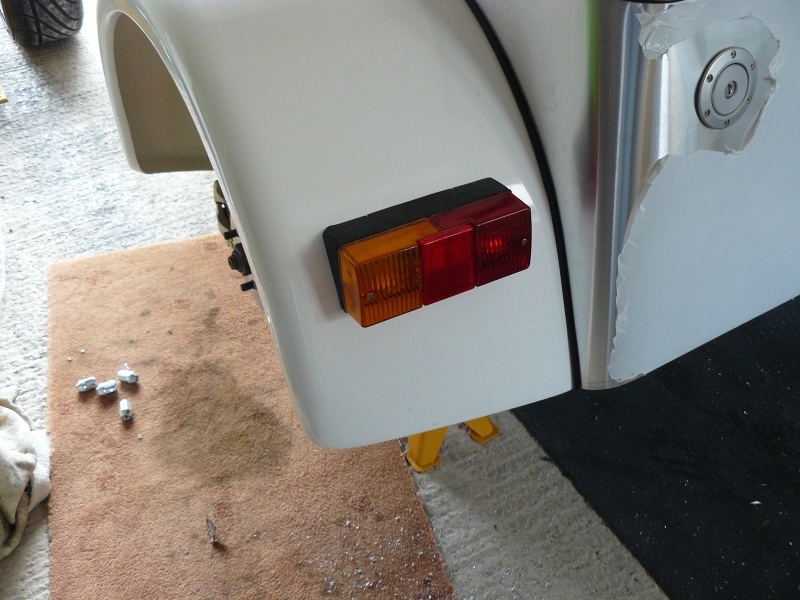
So the first thing to do is apply plenty of masking tape to the area you are working on. Now you can start to mark out where you think the light is going to go so it is at the right angle to the floor, is in the centre of the wing and is horizontal. I spent quite a bit of time with tape measures and spirit levels to finally draw on the masking tape where I thought it was going to fit. Then it is time to step back from the car and look at it by eye. If you are happy with the positioning, then it is time to drill holes! he light clusters need four for the bolts and one for the wires to go through. Once drilled and fixed in place, the near side light cluster was fitted, but not yet wired in.
Time to move over and go through exactly the same process with the off side. I really should have taken more photos of the process, but I didn't, so sorry about that.

With the two clusters in place, it was time to move on to the other 2 lights. First was the number plate lamp. A very simple process of 2 rivnuts and a hole for the wires, all of which are already cut out for you on the rear panel (well they were on mine).
I referred to the GBS ZERO Chassis Harness PDF document that I had sent to me as this shows all the wiring and what connects where. The Number plate lamp was simple as it was just 2 wires, one either end of the bulb. It doesn't look much on its own!!

Nest are the other 2 warning lamps, the fog lamp and the reversing lamp. Now you have 2 choices here on how to mount these. One way is to use the metal brackets that come with the lamps and rivet them under the rear panel and fix the lamps on to those. This will do the job but may not look too good. The other option is to fix them to the rear panel and this is where you have to modify the lamp unit. The IVA manual says that the lamp must be at 90 degrees to the road and if you fit the unit straight to the rear panel, because the rear panel is angled, the lamps will also be angles upwards. the solution is to cut the black box par of the lamp so it sits square. The top of the unit is 42mm deep and the bottom needs to be 32mm deep, with the appropriate angled cut down each side. This way when it is offered up to the rear panel, it sits at the right angle. Once cut, you will need to add some trim to hide any rough edges. You must make sure the hole where the wire comes through is at the top when you make the cut.
I then chose to use the fitting bolts that came with the lamp although you could use rivnuts and bolts if you want.
Wiring was again a simple task of following the PDF document and connecting the right wires. I just need to get some bulbs for these lamps.
This is the finished job before wiring in the light clusters.

So now the light clusters. This is fairly straight forward and involves joining the right wires on the harness to the wires on the light cluster. Again, all this was very well laid out on the wiring diagram.
All in all, it wasn't the quickest of jobs to do, but if you work through it methodically, it is easy enough to do. Of course I can't check any thing at the moment as I don't have a battery fitted and there is another part of the loom to be fitted for some of the switches.
No comments:
Post a Comment