Here is a picture of all the things you get in the alternator kit.

It all looks very good and very complete, but there are no instructions to tell you where things go, what bolts are for what, where the washers go etc. As with a lot of things, you have to work it all out for yourself. First thing to do was to paint the brackets as these had not been powder coated, which is a shame considering the cost of the kit. Anyway, I had a look at all the photos I had taken at the factory of various cars and was able to work out where the first bracket went. 1 bolt at the front and 2 at the side. I used 2 washers as spacers but I now think that the 2 hole bracket is probably meant to be a spacer.

The upper bracket on the off side then fits with a ..... missing bolt! All those bolts and washers in the kit, but not this one! Good job I had the right size in one of my selection boxes.

The alternator then fits with a bolt and washers to make up a spacer on the bottom bracket. A simple bolt then secures it through the upper bracket. It is important at this stage to make sure the alternator wheel is square to the other wheels the belt will go around. At first, mine was slightly out of alignment. A couple of tweaks on both brackets and it sat square.

Here is the view from the back.

On the near side the bracket mounts to the front of the block using an existing bolt and then with a couple of washers and a spacer tube.
Here it is from the front.

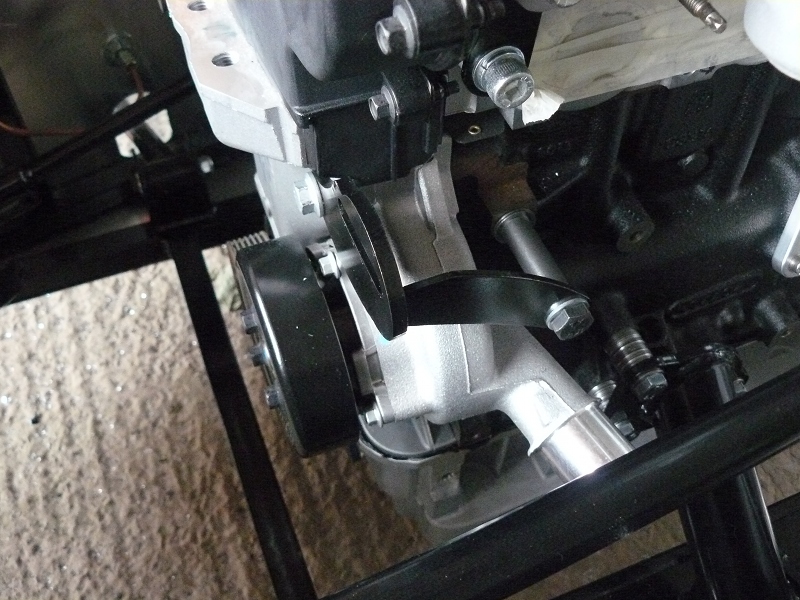
Next thing to add is the adjuster wheel

And finally, the belt can be added.

I also had a bit of spare time so cut the hole out for the gear lever.

No comments:
Post a Comment